

How to Build & Host Your Website for Free
Leveraging modern AI tools to level up your online presence

Lately, I’ve been helping friends get their websites online. While I’ve started offering this as a consulting service, I genuinely don’t want anyone to pay me if they’d rather do it themselves. So I’m laying out the exact process I use — step by step — so you can do this totally free, without needing to know how to code.
And if, after all this, you decide you’d rather pay someone to save yourself time and hassle? That’s an option too.
Step 1: Clarify Your Vision
Before you touch a single tool, get clear on what you’re building — and more importantly, why.
This isn’t just about picking pages and colors. It’s about getting to the heart of who you are, what you care about, and what you’re offering to the world.
When I help friends build websites, I ask them questions like:
What do you care about?
How do you want to help people?
Why this? Why now?
What part of your life journey led you here?
What exactly are you offering — and what are you inviting people into?
When those questions get answered honestly, the website starts to design itself.
Try This: Trade Interviews With a Friend
One of the best ways to clarify your vision is to talk it out — ideally with someone who knows you.
Ask a friend to spend 30 minutes interviewing you. Then flip it: you interview them for 30 minutes. That way, both of you get clarity — and a website out of it.
You can send them this blog post so they can follow along too.
Record the conversation using your phone’s voice recorder, then export the transcript (most apps have a "share" or "export transcript" button). Paste that into your AI agent of choice — ChatGPT, Claude, Gemini, etc.
You can also do this solo by having the AI interview you. But don’t underestimate the magic that comes from being seen and heard by someone you trust.
Step 2: Turn That Conversation into a Vision Document
Once you’ve got your transcript, paste it into your AI with a prompt like this:
“Using this conversation, generate a clear and cohesive vision document. It should articulate who this person is, what their project is, why it matters, and how they want to present it. Use direct quotes to preserve their voice and essence.”
This document becomes your foundation — not just for your website, but for bios, emails, speaker pages, offerings, and more.
Step 3: Generate a Website Design Document
With your vision clarified, it’s time to shape the website itself.
In the same AI chat window (or with the transcript and vision doc handy), use this prompt:
“Based on our previous conversation and this vision document, generate a detailed website design document. It should include:
– The structure (pages and sections)
– Style and vibe
– Content for each section
– Direct quotes or unique phrases that really capture their voiceDon’t include any features that can’t be hosted on a purely static site, such as database lookup or contact forms.”
This becomes your blueprint — ready to pass to a website builder.
Step 4: Build the Site with Lovable.dev
Lovable is one of the simplest, most powerful AI website builders I’ve found — especially for people who don’t want to mess with code. Here’s how to use it:
Go to lovable.dev and sign up.
Paste your full website design document into the prompt box.
Click “Build”.
Wait 5–10 minutes and you’ll get a fully generated website based on your vision.
Then — time to edit.
Lovable allows 5 prompts per day on the free tier, so make them count. You can batch feedback like this:
“Change the homepage headline to something shorter and more inviting, remove the testimonials section from the About page, and make the colors a little more earthy and natural.”
The more specific you are, the better the results.
You can also use the visual editor to manually adjust text and layout — super helpful for polishing up language or layout quirks.
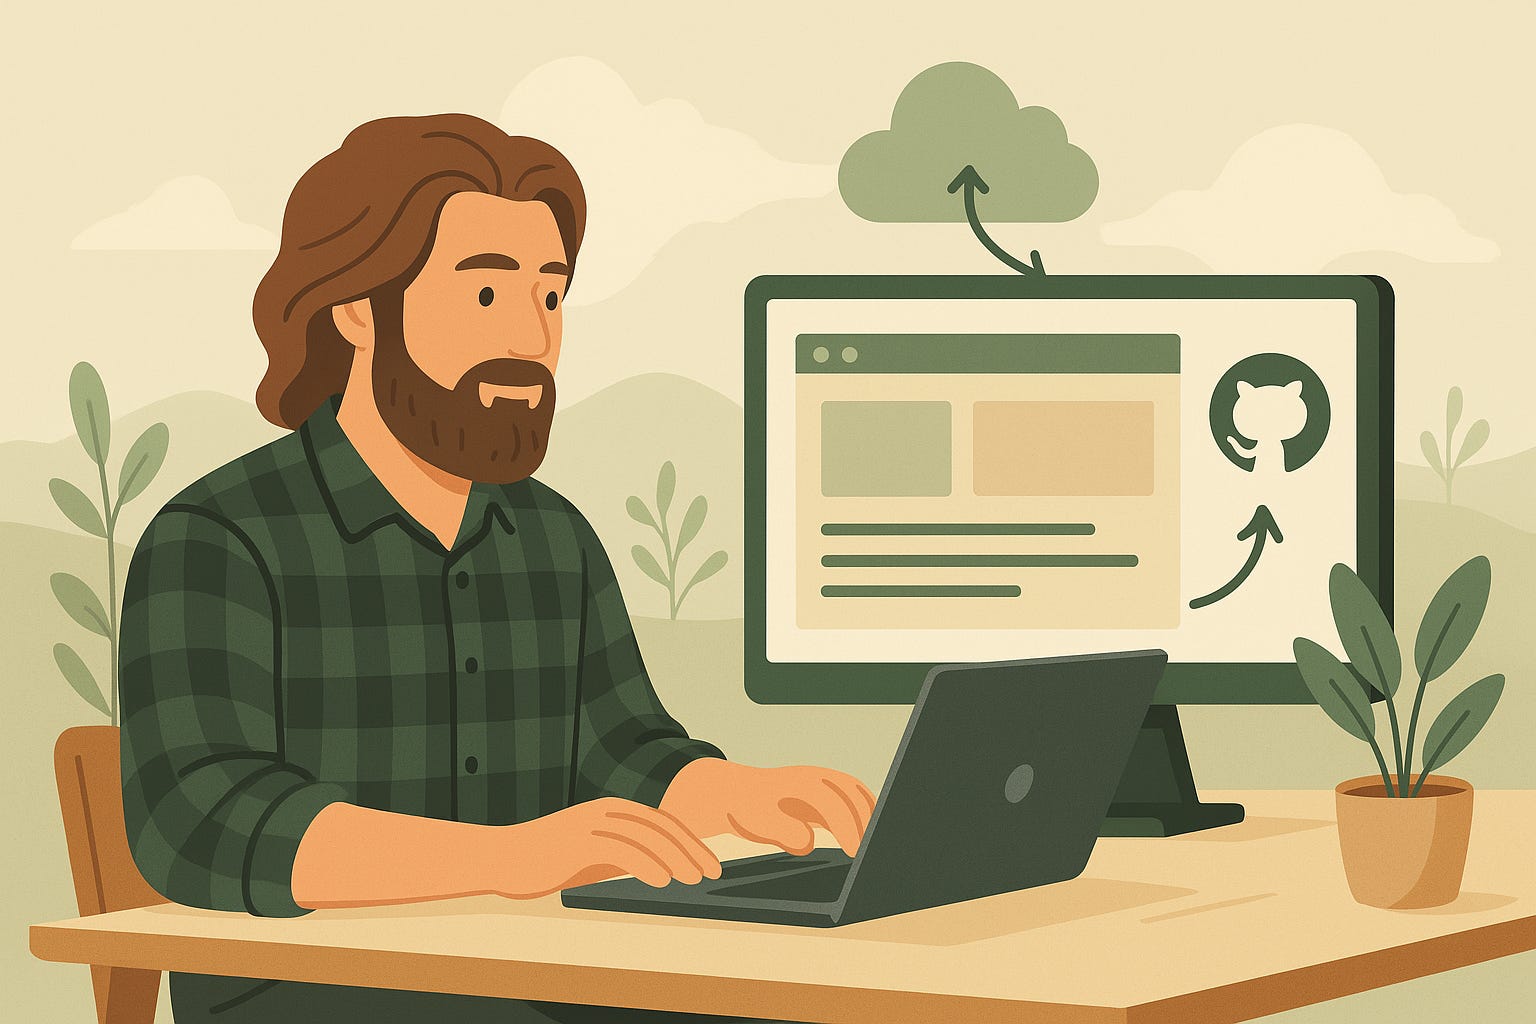
Step 5: Host It on GitHub
Now let’s get your site hosted.
Create a free account at github.com.
In Lovable, click “GitHub” > “Transfer Project to GitHub.”
Connect your GitHub account and follow the prompts.
This will upload your website code into a GitHub repository. By default, it’s private — and you can keep it that way unless you want to open-source it.
Step 6: Deploy for Free with Netlify
Netlify makes it easy to put your site live on the web — for free.
Go to netlify.com and sign up.
Click “Add site” > “Import from Git.”
Connect your GitHub and select the repo you just created.
Name your site, leave defaults as-is, and click “Deploy.”
After a couple minutes, you’ll get a live site at a URL like yourproject.netlify.app.
Step 7: Add a Custom Domain (Optional)
Want your own domain? Netlify makes this simple too.
In your Netlify dashboard, go to “Domain Management.”
Add a domain you already own, or buy one right there (usually ~$10/year).
Follow the prompts, and click to enable SSL when available.
Give it a little time — DNS can take a few minutes or hours to fully connect.
You’re Live 🎉
You now have a real, functioning, custom website online — and you didn’t spend a dime.
To make updates, go back into Lovable and use your remaining daily prompts, or manually adjust via the visual editor. You can rebuild the whole site or just tweak small sections.
A Word About Tools
Lovable isn’t the only way to build websites with AI. There are lots of great tools out there — but Lovable stands out for how easy it is, especially if you’re not a developer.
It’s also capable of more than just static sites. You can build full-fledged React apps with databases, user authentication, and more. That might sound intimidating now, but once you get the hang of this process, it opens up entirely new possibilities for what you can create.
I’ll be writing more on that soon.
Need Help?
If this still feels like a lot, or you want support clarifying your vision or building your site, I offer affordable 1-on-1 sessions and full website builds. You can book with me at unforced.dev.
Whether you build it yourself or get some help — you deserve a beautiful, clear, living space on the web. One that reflects who you are and what you’re here to share.